Find all the formalities for going to Japan on our dedicated page.
1 - What is the purpose of the Visit Japan Web site?
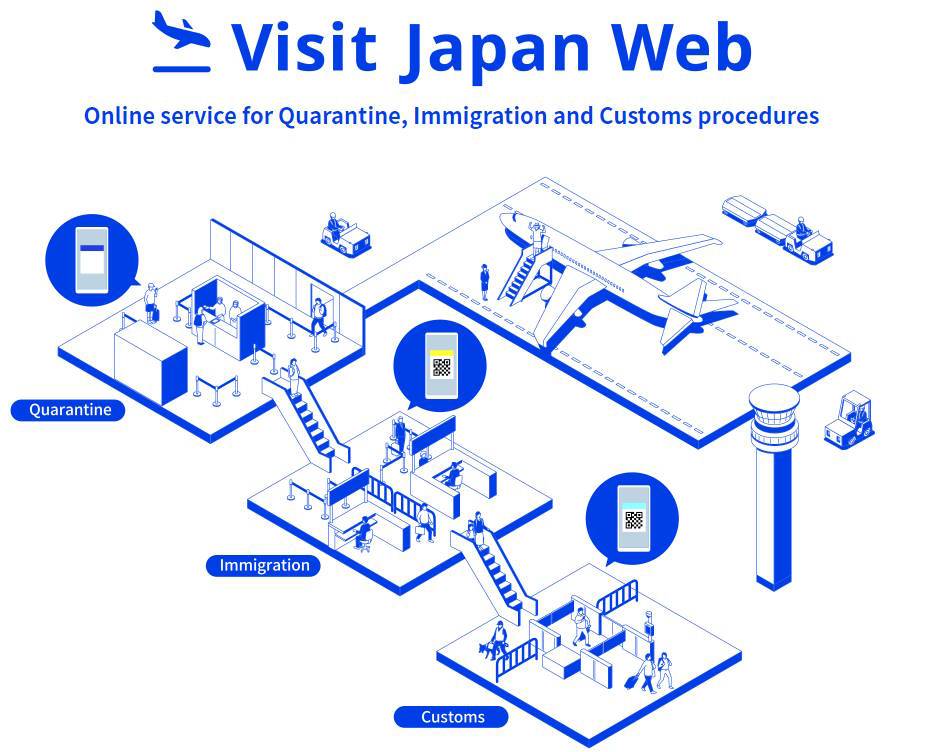
Japan has introduced an online system to simplify the arrival process for visitors. The Visit Japan Web site (available in English) allows you to register online to prepare for immigration and customs clearance when entering Japan.
While it is not mandatory to register on Visit Japan Web, you will still need to complete the same formalities upon arrival in Japan.
1.1 - What are the required elements?
As a tourist, you must provide the following to enter Japan:
- A valid passport that remains valid for at least 90 days after your arrival
- A round-trip plane ticket
- A confirmed accommodation for your first night in Japan
- No vaccination is required for Canada / French / US nationals
A single registration can cover up to 10 family members if everyone is following the exact same itinerary. Otherwise, each individual must register separately on the site.
At the end of your registration, you will receive a QR code that must be shown to airport agents during immigration and customs checks in Japan.
Note: A screenshot or printed version of the QR code is not accepted. You’ll need a phone with internet access (via the airport's Wi-Fi) or have the offline Visit Japan Web app installed. Otherwise, you will have to fill out paper forms on-site.

1.2 - When should I register on the Visit Japan Web site?
We recommend completing your registration at home, about two weeks before your departure, using your mobile phone. By that time, you should have all the necessary documents mentioned earlier. The registration process takes around 20 minutes.
If you're not registered, you'll need to complete the process upon arrival at the airport in Japan, either by filling out a paper form or using a computer. However, you’ll likely have other things on your mind than waiting in line and filling out lengthy forms.
2 - How does the Visit Japan Web site work?
This section provides an overview of how to register on the Visit Japan Web site, based on official documentation from Japanese authorities.
The main steps are as follows:
- Create a Visit Japan Web account
- Add traveler details
- Declare your trip
- Complete the health form
- Fill out the immigration and customs form
At the end of the process, you will be able to view the QR code, which must be presented at immigration and customs upon your arrival in Japan.
3 - Creating a Visit Japan Web Account
Follow these steps to create your account and log in.
Step 1 : Homepage
Go to the official Visit Japan Web page at https://www.vjw.digital.go.jp/.
Step 2 : Sign up for the service
- Click the "Sign up for a new account" button.
- Check the two boxes to accept the terms of service.
- Click "Next".
Enter your information:
- Your email address.
- A strong password with at least 10 characters, including at least 1 uppercase letter, 1 lowercase letter, 1 number, and 1 special character from the following:
+-*/=.,:;@!#$%?|~^(){}_`.
⇾ For example, the password "Azertyuiop$1" meets the requirements, but it's too simple. - Make sure to write down your chosen password, as you’ll need it during your trip in Japan.
- Enter the password twice to avoid mistakes. Click the eye icon to display the password if needed.
- Check the box "I am human".
- You’ll be asked to complete a small test, like clicking on all the images containing a specific object (an animal, a guitar, etc.).
Finally, click "Create account" to complete your account setup
Step 3 : Confirming your registration
You will be asked to enter the verification code sent to the email address you provided in Step 1.
Make sure to check your spam folder if you don't receive the email within 5 minutes.
- Enter the code and click "Check" to confirm your registration.
- Then, click "Go To Login Screen" to proceed


Step 4 : Logging into the Visit Japan Web Site
You're back on the Visit Japan Web homepage.
- Enter the email address and password you provided in Step 1.
- Check the box "Remember me" to stay logged in.
- Click the "Login" button to access your account.
Next, the "Setting up Multi-Factor Authentication" page will appear.
This feature increases security, but it can be complicated if you're unfamiliar with the process.
- Select "No".
- Click "Next".
If you've forgotten your password, you can reset it by clicking "Forgot password ?" below the login button.

Once logged in, you'll see the main dashboard, where you can manage travelers, trips, and fill out immigration and customs forms
4 - Declaring travelers
Your personal information only needs to be entered once for all your trips to Japan. Be sure to update it if you obtain a new passport.
4.1 - Your personal information
The first step is to provide the personal details of the primary traveler. To begin, click on the "Your details" button.
Step 1 : Entry information for Japan
You will be asked the following questions:
-
"Do you have a passport issued by the Japanese government?"
"Do you live in Japan or are you entering Japan with special permission?"
⇾ As a tourist, the typical answer is "No". -
"Will you use a QR Code for Tax-Free?"
⇾ You can answer "Yes". The Tax-Free program allows you to avoid paying Japanese VAT on certain purchases, under specific conditions.
Click "Next" to proceed. You will need your passport so the app can scan its information using your phone's camera. Once ready, click "Next".

Step 2 : Personal information
The app will prompt you to take a photo of your passport using your phone’s camera.
- Click "Take photo of passport" and follow the instructions to properly align your passport in the frame.
- Next, you’ll be taken to a page displaying your detailed information. Verify that all required fields are correct.
- It's also recommended to fill in the optional fields about occupation and home address.
Click "Next" to continue.
Step 3 : Information confirmation
This screen allows you to review your information. If everything is correct, click "Register" to finalize the entry.
⇾ After confirming, click "Check VISA requirement".


Step 4 : VISA verification
You will be asked whether you have a VISA to enter Japan.
For French tourists staying less than 3 months, the answer is "No".
Click "Back to Home" to return to the main menu.

4.2 - Family Information
You can register up to 10 family members who are taking the exact same trip. This means they must have the same flights and the same first accommodation. Friends are not considered family members.
From the homepage, click the "Details of family members traveling with you" button, then click "Add" to enter a new person. You can copy information from another traveler or create a new profile.
The required information for other travelers is the same as for the primary traveler.

5 - Declaring a trip
This step is mandatory for every trip you take to Japan.
Step 1 : Creating Your Trip
From the Visit Japan Web homepage:
- Click the "Register new planned entry/return" button.
- Select the option "Proceed to registration without copying details", then click "Next" to begin entering your information.

Step 2 : Flight Information
Fill in the required details:
-
Trip name: For example, "March 2025".
-
Planned arrival date in Japan: This is the date your flight lands in Japan.
-
Airline company name:
The list provided on the site can be inconvenient, so here are the codes for some major airlines:- AF: Air France
- JL: Japan Airlines
- NH: All Nippon Airways (ANA)
- BR: EVA Airways
- CA: Air China
-
Flight number (without letters):
For example, if your flight is NH0123, enter only "0123". If you have connecting flights, enter the flight number of the plane landing in Japan. -
Point of embarkation (city of departure):
If you have connecting flights, enter the city where your first flight departs. -
Click "Next" to continue.
Step 3 : information about your first accomodation
You need to provide the details of where you'll spend your first night in Japan. Japanese addresses follow a different format than French ones, so here’s how to enter it:
| English address | Japanese Address | |
| Hotel name | Smile Hotel Nihonbashi Mitsukoshimae | Smile Hotel Nihonbashi Mitsukoshimae |
| Street | Chuo-ku Nihonbashi Honcho 1-4-14 | 中央区日本橋本町1-4-14 |
| City / Ward | Chuo Ward | 中央区 |
| Prefecture / Zip code | Tokyo, 103-0023 | 東京都 103-0023 |
Enter the following information in English from your first accommodation:
-
Postal code: Enter only the numbers. For example, from "103-0023," type "1030023".
-
Click "Enter automatically using postal code" to automatically fill in the prefecture, city, and address fields.
-
Prefecture: For the example, it would be "TOKYO TO".
⇾ This is filled in automatically based on the postal code. -
City: For the example, it would be "CHUO KU".
⇾ This is also filled in automatically from the postal code. -
Accommodation address: Enter the address in uppercase and without accents. For the example, "NIHONBASHI HONCHO".
⇾ This is also filled in automatically from the postal code. -
Hotel name, place of stay: Manually enter the name of your accommodation. In this example: "Smile Hotel Nihonbashi Mitsukoshimae".
-
Contact phone number: Enter the hotel’s phone number using digits only. For example, "+81 3 3664 1045" becomes "0081336641045" (replace "+" with "00").
⇾ This must be entered manually. -
Once everything is complete, click "Next" to proceed.

Step 4 : selecting travelers
This screen will appear only if you've registered family members in the application.
- Check the boxes for the family members who are part of the trip, then click "Next".
Step 5 : information confirmation
The final screen allows you to review all the details of your trip.
⇾ If everything is correct, click "Register plan" to complete the registration.
On the confirmation screen, click "To entry/return procedure".
You will now see your trip page with three possible actions:
- "Link VISA (optional)": Not needed for French tourists.
- "Quarantine (Confirmation of Health Condition)": An optional form to confirm that you are in good health.
- "Immigration clearance and Customs declaration": A mandatory form for immigration and customs.
The next part of the article will guide you through filling out forms 2 and 3.
6 - Health form
This form is used to confirm that you are in good health before arriving in Japan. It is optional and serves as a reminder that you must inform the immigration officer if you feel unwell upon arrival.
From the homepage, select the trip you previously created and click on the "Quarantine (Confirmation of Health Condition)" button.
- Assuming you are in good health, select "No" and then click "Back to Entry/Return Procedure" to continue.

7 - Japanese Immigration and Customs forms
This form is essential for preparing your arrival in Japan and generating the QR codes for immigration and customs clearance.
Note: You need to generate a QR code for each traveler. To switch between travelers, select the appropriate person from your trip’s homepage.
To access the form, click on "Immigration clearance and Customs declaration".
An informational message will appear; click "Next".

You’ll be asked to provide the following details:
Step 1: Personal information and first accommodation
All of this information should already be pre-filled, as it was entered earlier when declaring your trip.

Step 2 : information about your stay
This screen will ask for several details:
- Purpose of visit: select "Tourism" if you're visiting as a tourist.
- Duration of stay in days: enter the total number of days you will spend in Japan.
Step 3 : questions about your status
You'll be asked a series of questions to validate your entry into Japan. As a tourist, the typical answer is "No", but make sure to answer truthfully.

If you have family members traveling with you, you’ll be given the option to make a single customs declaration for all travelers. Select "Yes" and click "Next" to proceed to Step 4.
For solo travelers or others, you’ll proceed directly to Step 4.
Step 4 : Customs questions
You will go through 8 screens with various questions about the items you may be bringing into Japan. As a tourist, the standard answer is usually "No", but it’s important to answer honestly.
Here are the most important customs regulations for Japan:
- All drugs are strictly prohibited, including medications containing pseudoephedrine or codeine.
- All meat products are banned from importation, including sausage, ham, bacon, and steak. You should also avoid bringing dairy products like milk, cheese, or butter, as these are restricted with limited exceptions.
- Bringing small gifts, like a box of cookies for friends, is not typically a concern for these questions.
Answer each question carefully and truthfully, and click "Next" to continue through the screens.
Step 5 : confirmation
On the final screen, you’ll have the chance to review all the information you've entered. To complete the registration:
- Check the box "The above entry is true and correct".
- Click "Register".
- Click "Back to Entry/Return Procedure".
You will now return to your trip's homepage, where the "Display QR Code" button is now active.
Don’t forget to fill out the same form for all the other travelers in your group. Each person needs their own QR code!

9 - QR Code to present at the airport in Japan
After completing all the necessary information regarding your trip, immigration, and customs, you will be able to access the QR Code that must be presented upon arrival in Japan.
Screenshots or printed copies of the QR Code are not accepted. You must have a phone connected to the internet (via airport Wi-Fi) or have the Visit Japan Web app installed offline. Otherwise, you'll need to fill out paper forms upon arrival.
To access your QR Code:
- Log in to the Visit Japan Web application and select the relevant trip.
- Click the "Display QR Code" button.
- Click "Agree and display the QR Code".
⇾ After this step, you will no longer be able to modify the trip information. - The QR Code will appear on your screen.
You can switch between travelers using the list of members displayed below the QR Code.
Once you arrive in Japan and your passport is stamped, you will be able to activate the QR Code for the Tax-Free program. This allows you to make eligible purchases without paying Japanese VAT, under certain condition
For a smoother arrival, you can also consult our completearrival procedure guide for Japanese airports.


10 - Questions / Answers
If we are two travelers, how many QR Codes do we need?
The answer is two QR Codes; each traveler must have their own QR Code.
To view another person's QR Code, tap on their name below the QR Code. As mentioned in section 9, the list of people with a QR Code is not very intuitive.
If the person's name doesn't appear, it means they haven't been registered. Go back to section 4 or 5 (step 3), depending on your situation