Find all the formalities for going to Japan on our dedicated page.
Traveling can sometimes be stressful, especially if you're unfamiliar with airport procedures. To ensure a smooth departure for your trip to Japan, here’s a detailed guide on the steps to follow when departing from a French airport, particularly Paris Charles de Gaulle (CDG), the main hub for flights to Japan.
When Should I Arrive at the Airport?
To avoid unnecessary stress and allow enough time to complete all steps, it’s recommended to arrive at the airport about two hours before your flight's departure, as noted on your ticket. This gives you ample time to handle unexpected delays like long lines or additional security checks.
Plan ahead for potential delays with your transportation to the airport. For instance, at Charles de Gaulle (CDG), it’s not uncommon for the RER B train to have issues, requiring you to switch to a bus or taxi. The most reliable option is arriving directly by TGV to the Terminal 2 station at CDG.
Terminal Organization for Flights to Japan
Flights from France to Japan usually depart from Paris Charles de Gaulle (CDG), which is divided into three terminals: Terminal 1, Terminal 2, and Terminal 3.
Here’s the typical airline terminal breakdown for flights to Japan:
- Air France, Japan Airlines: Terminal 2E
- ANA (All Nippon Airways): Terminal 1
If you're arriving by TGV or the RER B train, you'll be dropped off at Terminal 2's station. In case you need to switch terminals, the airport provides a free automated shuttle, the CDG Val, which connects all terminals in about 10 minutes.


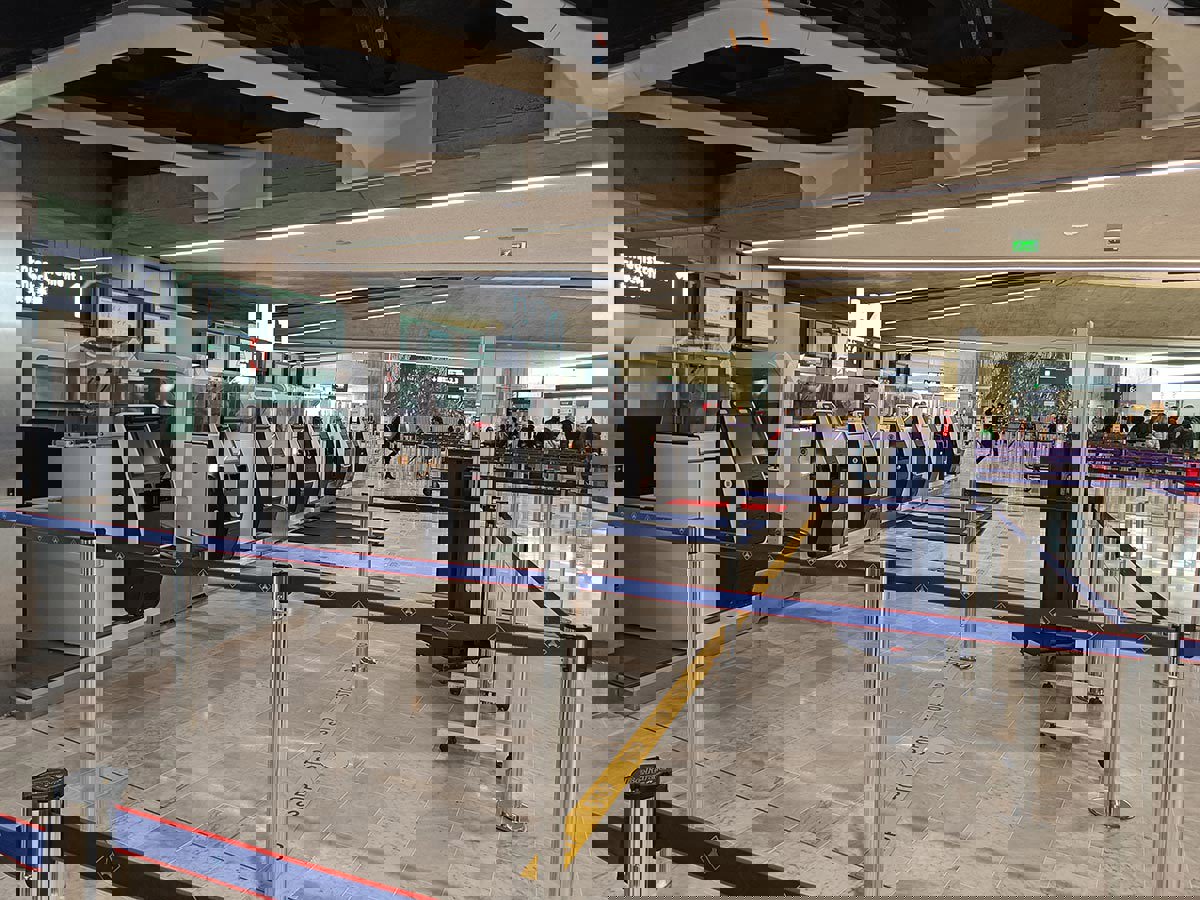
Baggage Check-in and Boarding Pass Collection
What Should I Check Before Heading to the Airport?
Before going to the check-in counter or self-service kiosks, make sure to check the weight, size, and number of bags allowed per passenger. These details are on your ticket and vary by class and airline. If you exceed the limit, additional fees will apply.

Which Items Are Prohibited in Checked Luggage?
Some items, such as devices with batteries (laptops, phones, cameras, etc.), are not allowed in checked luggage and must be placed in your carry-on. It's recommended to review the full list of prohibited items on the airport's official website to avoid any issues at security.
How Do I Print My Boarding Pass and Luggage Tags?
You can print your boarding pass and luggage tags at the self-service kiosks in the check-in area. Here’s how:
- Select your airline on the kiosk screen.
- Scan your passport to confirm your identity.
- Print your boarding pass and check your luggage.
- Attach the printed luggage tags to your suitcases as directed.
Keep your boarding pass in your passport, open to your personal information page, as you'll need to show both at various security checkpoints throughout the airport.
Preparing Your Checked Luggage
Attach the printed luggage tags securely to the handle of your suitcase, ensuring the barcodes are visible. Don’t hesitate to ask airport staff for help since attaching the tags properly can be tricky.
Stick a small barcode from the tag onto your boarding pass to help track your luggage in case it gets lost.
Once your luggage is ready, head to the bag drop-off area behind the self-service kiosks. Be sure to join the correct line for your airline and ticket class.


Security Screening Steps
Security screening is a crucial step before you can access the boarding area. This process ensures that no prohibited items are in your carry-on. Follow these guidelines for a smooth experience:
- Liquids must be in containers of less than 100 ml and placed in a clear, resealable bag.
- Electronic devices (phones, laptops, tablets) must be removed from your bag.
- Remove jewelry, belts, watches, and outerwear before passing through the metal detector.
Prohibited items include liquids over 100 ml, sharp objects, and blunt instruments.
Once through security, you can retrieve your belongings and head to the duty-free zone.


When Does Boarding Begin and What Happens Then?
Boarding typically begins 40 minutes before departure, so keep an eye on the information screens for your gate. Once you reach the gate, airline staff will ask to see your boarding pass and passport one last time.
After verifying your documents, you'll be allowed to board the plane. Make sure to stow your carry-on in the designated compartments, either under the seat in front of you or in the overhead bins.


Tips for a Stress-Free Departure to Japan
- Plan Ahead: Arriving at the airport at least two hours before departure will spare you from unnecessary stress and allow you to move through each step calmly.
- Check Your Documents and Baggage: Ensure you have your passport, ticket, and that you’ve adhered to the baggage guidelines to avoid extra fees or delays at check-in.
- Organize Your Carry-On: Arrange your items so you can easily access electronics and liquids during the security check.
- Enjoy the Airport: Once you’ve cleared security, take time to explore the duty-free shops, grab a bite to eat, or simply relax before boarding.
Following these tips will help ensure a smooth and stress-free start to your journey to Japan.